Quick Take
A tent should be light enough to carry, strong against weather, and quick to set up. The right choice keeps you dry and comfortable, and knowing how to pitch on soil, sand, or rock means you’ll always have a solid camp.
Introduction
Many people buy a tent based on color, price, or size rating and regret it later. Too heavy for backpacking, too flimsy for wind, or too complicated to pitch when rain is coming down. Add in tricky ground like sand or granite, and frustration comes fast.
This guide will walk you through:
- Choosing the right tent type and weather rating.
- Evaluating ease of setup (so you don’t fight with poles and stakes in the dark).
- Pitching on soil, sand, and rock with confidence.
By the end, you’ll know how to pick a tent that fits your trips and how to pitch it anywhere.
Step 1: Choose the Right Tent Type
Backpacking Tents
- Weight: 2–5 lbs (1–2.5 kg). Ultralight les sthan 2 lbs exist, but pricey.
- Capacity: Tight. A 2-person means two people can fit, but not much else.
- Design: Low profile, compact vestibules, smaller doors.
- Best for: Long hikes, alpine routes, minimalist travel.
Car Camping Tents
- Weight: 10–20 lbs (5–9 kg). Bulkier to pack.
- Capacity: Generous—4-person usually does fit four.
- Design: Tall walls, room to stand, larger doors.
- Best for: Drive-in campsites, families, festivals.
If you’re hauling everything on your back, ounces matter. Eight miles into a trail, you’ll be thankful for the 3-pounder, not the 15-pound “roomy” model.
Step 2: Check Ease of Setup
A tent should be intuitive. If it’s confusing in your yard, it will be miserable in the wind.
Freestanding tents
- Poles alone hold the tent upright.
- Stakes are optional for stability. Without them, the tent still stands.
- Example: You can lift and move it before staking.
Semi-freestanding tents
- Poles hold most of the structure.
- One or two corners must be staked to pull the tent into shape.
- Without stakes, part of the tent sags or collapses.
Non-freestanding tents (trekking pole shelters)
- Stakes are required for the tent to stand.
- The fabric is held up by tension between trekking poles and stakes.
- Ultralight and compact, but need more skill.
What to look for when shopping:
- Color-coded poles and clips (fast setup).
- Hubbed poles (all connected at a joint) are quicker.
- Buckle or clip rainfly attachments. Avoid long sleeves that snag.
Setup time benchmarks:
- Backpacking freestanding: 5–7 minutes solo.
- Car camping family tent: 10–15 minutes.
- Trekking pole shelter: ~5 minutes—but only once you practice.
Picture this: storm clouds roll in just as you reach camp. A simple freestanding design with color-coded poles? You’re inside in five minutes. A pole-sleeve tent with six stake points? You’re wet before it stands.
Step 3: Match Tent to Weather Conditions
3-Season Tents
- For spring, summer, fall.
- Mesh walls for airflow.
- Good for rain, mild wind.
- Weight: 2.5–4 lbs for backpacking.
3-Season+ (Extended Range)
- Stronger poles, less mesh.
- Better for shoulder seasons, desert wind, or light snow.
- Weight: 4–6 lbs.
4-Season Tents
- Built for snow and alpine storms.
- Dome shape resists wind and snow load.
- Minimal mesh, heavier fabric.
- Weight: 6–10 lbs.
On a warm July weekend, mesh panels keep you cool. But at 12,000 feet in March, you’ll want a fortress that won’t fold under snow.
Step 4: Pitching on Soil
- Clear sticks, pinecones, and rocks.
- Lay a footprint (slightly smaller than the floor).
- Insert poles, raise tent body.
- Stake corners at 45° angles, pointing away from tent.
- Attach and tension guylines.
Step 5: Pitching on Sand
- Use wide “V” or “Y” sand stakes.
- No sand stakes? Make “deadman anchors”:
- Fill a stuff sack or bag with sand.
- Bury 6–8 inches deep.
- Pack sand firmly over.
- Tie guylines to the buried anchor.
- Spread anchors wide for stability.
On the beach, normal stakes pull out instantly. A buried anchor holds so well you’ll struggle to free it in the morning.
Step 6: Pitching on Rock
- Freestanding tents work best because the poles give it full shape.
- Weigh corners down with flat rocks.
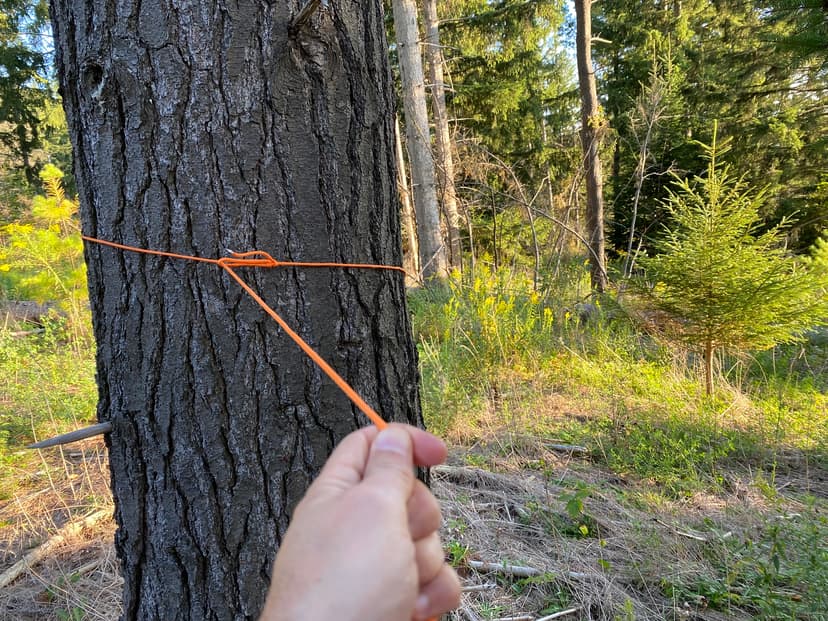
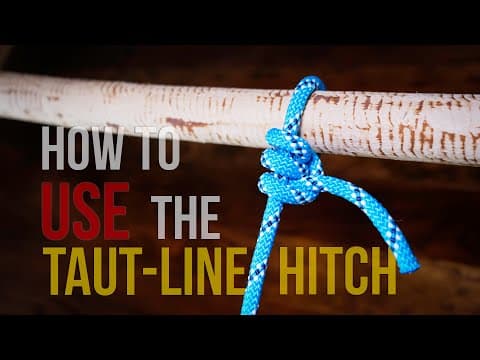
- Tie guylines to boulders, tree roots, or trekking poles wedged in cracks.
- Use extra cord if guylines are short.
Above treeline, soil may not exist. You’ll spend a few minutes collecting rocks, but once the corners are weighted, the tent stays steady all night.
Pro Tips
- ✅ Practice pitching at home once before every trip.
- ✅ Carry 2–4 spare stakes—easy to bend or lose.
- ✅ Stake the windward side first in storms.
- ✅ Reflective guylines prevent midnight trips and falls.
- ✅ Car camping? A rubber mallet is worth the bulk. Backpacking? Leave it.
Common Mistakes to Avoid
- ❌ Buying too big: extra weight, harder to keep warm.
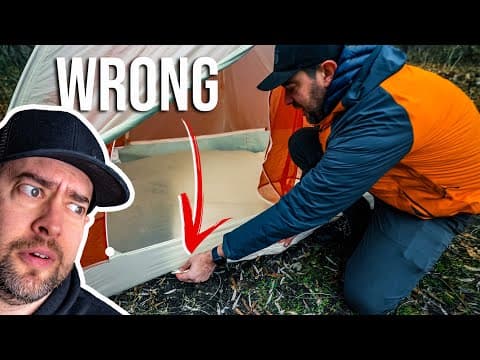
- ❌ Skipping the footprint: faster floor wear, damp nights.
- ❌ Pitching in depressions: puddles form in rain.
- ❌ Relying only on stakes: in sand or rock, you’ll need anchors.
Tent Setup Checklist
| Item | Notes |
|---|---|
| Tent body & rainfly | Test zippers and seams at home |
| Stakes (10–12) | Carry mix: standard + sand/snow |
| Guylines | Reflective, pre-knotted |
| Footprint | Slightly smaller than tent floor |
| Anchors | Rocks, sticks, filled sacks |
| Mallet (optional) | Car camping only |
Outcome / Success Check
You know you’ve done it right when:
- Tent stands taut without sagging.
- Rainfly clears the inner tent, no contact.
- You can enter/exit without brushing damp walls.
- Tent resists wind gusts without collapsing.
- You slept without flapping, dripping, or sliding anchors.
Conclusion
The best tent isn’t just the lightest or cheapest—it’s the one you can pitch fast, in any terrain, and trust through the night. With these basics, you’ll be ready for forest soil, sandy riversides, or rocky alpine ledges.
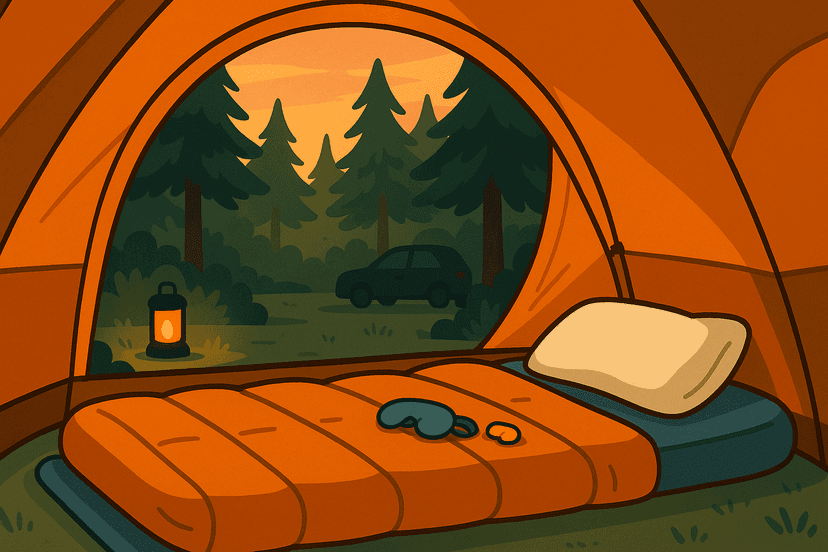
Your shelter is sorted—next up, learn to dial in your sleep system so you stay warm and rested.

Disclaimer
This guide is a general reference. Conditions vary by region, weather, and gear. Always test your setup at home before relying on it in the backcountry, and follow local regulations for camping.
Sources & Additional Resources
- REI Co-op Expert Advice: “How to Choose a Backpacking Tent”
- American Alpine Club — resources on alpine camping and shelter use
- Leave No Trace Center — guidelines for campsite selection and low-impact setup